Glitter and Glam: How to Apply Glitter Makeup Without the Mess
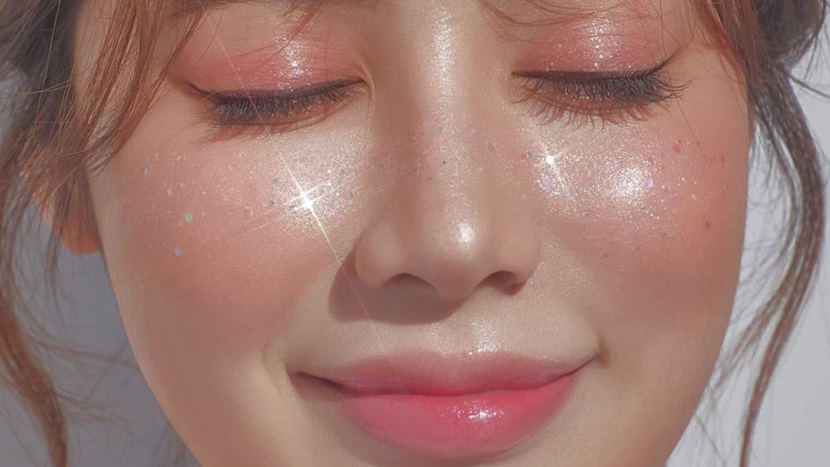
Step into the world of sparkling allure and dazzling glamour with glitter makeup that promises to transform your look into a mesmerizing work of art. The ethereal radiance and vibrant pop of color that glitter adds to your makeup can be truly enchanting. However, many makeup enthusiasts have experienced the frustrating aftermath of glitter application: the dreaded mess and fallout that seems impossible to escape. The journey to mastering the art of applying glitter makeup without the chaos is a path worth treading.
Technique: How to Apply Glitter Makeup
Creating a dazzling, glitter-infused makeup look is an art that requires precision and finesse. To help you master the art of applying glitter makeup flawlessly, we’ve broken down the process into three methods that cater to different types of glitter products: pressed glitters, loose glitters, and glitter gels/creams.
Method 1: Pressed Glitters
- Pressed glitters offer a convenient way to add a touch of sparkle to your makeup. Here’s how to apply them like a pro:
- Application: Use your fingertip or a flat synthetic brush to gently press the pressed glitter onto your desired area. This provides better control and minimizes fallout.
- Layering: For an intensified effect, layer the pressed glitter gradually. Begin with a thin layer and build up the intensity according to your preference.
- Sealing: Once you achieve your desired level of sparkle, seal the look by spritzing a setting spray over the glitter. This helps lock the glitter in place and prevents any potential fallout.
Method 2: Loose Glitters
- Loose glitters offer endless possibilities for creativity, but they can be messier to apply. Here’s how to make them work for you:
- Adhesive Application: Begin by applying a specialized glitter glue or adhesive to the area where you want to place the loose glitter. This adhesive provides a sticky base for the glitter to adhere to.
- Controlled Application: Use a flat brush to gently press the loose glitter onto the adhesive-covered area. The flat brush helps ensure controlled placement and minimizes excess glitter.
- Tapping Motions: To evenly distribute the loose glitter, use tapping motions with the brush. This technique helps the glitter settle onto the adhesive while reducing fallout.
Method 3: Glitter Gels and Creams
- Glitter gels and creams offer a versatile and mess-free option for adding sparkle. Follow these steps for a seamless application:
- Even Spreading: Use a brush or your fingertip to evenly spread the glitter gel or cream onto the desired area. This provides a smooth base for the glitter particles to adhere to.
- Gradual Layering: To control the level of sparkle, start with a thin layer of glitter gel/cream and gradually layer more if needed. This allows you to customize the intensity.
- Setting: To ensure the glitter stays in place, set the gel or cream with a light dusting of translucent powder. This step also helps prevent any potential creasing or smudging.
Designing Stunning Looks
Once you’ve mastered the art of applying glitter makeup, it’s time to unleash your creativity and design truly breathtaking looks that capture attention and radiate confidence. Here are some techniques to help you craft stunning makeup masterpieces:
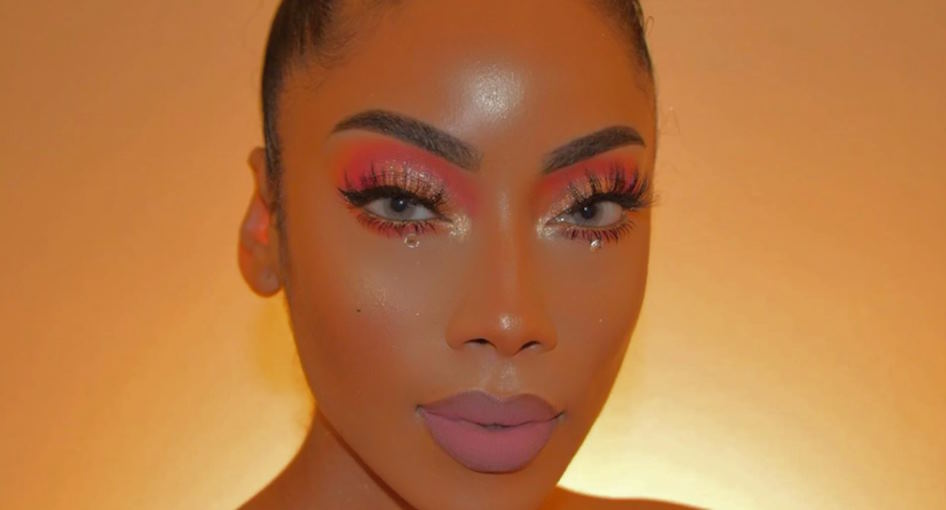
Experimenting with Different Glitter Placements
The canvas for your glitter creation is vast, and every inch offers an opportunity to shine. Experiment with various glitter placements to find the style that resonates with you. For a classic and elegant look, apply glitter to the center of your eyelids. To create a bold statement, consider placing glitter along your lower lash line or on the outer corners of your eyes. Don’t shy away from exploring unique placements like the inner corners of your eyes or even your brow bone. Remember, each placement can tell a different story, so let your imagination run wild.
Mixing and Matching Glitter Colors
Don’t limit yourself to a single shade of glitter. Mixing and matching different glitter colors can result in captivating and multidimensional looks. Play with complementary or contrasting colors to create a harmonious blend that adds depth and dimension to your eyes. You can also experiment with ombre effects by transitioning from one color to another across your eyelids. The key is to ensure a seamless transition between shades, creating a visually stunning gradient that captures attention.

Glitter Makeup Removal
While adorning yourself with glitter makeup is a delightful experience, the prospect of removing it might seem daunting. However, with the right techniques, you can bid farewell to your glittery masterpiece without any hassle. Here’s how to effectively remove glitter makeup while taking care of your skin:
Using an Oil-Based Makeup Remover
Glitter has a knack for sticking around, but an oil-based makeup remover is your secret weapon. Apply a few drops of the remover onto a cotton pad and gently press it onto the glitter-adorned areas. The oil will help break down the adhesive holding the glitter in place, allowing it to be lifted off more easily. Gently swipe the pad in a downward motion to avoid spreading the glitter around. Repeat this process until the glitter is mostly removed.
Properly Cleansing and Moisturizing Post-Removal
Once you’ve bid farewell to the glitter, it’s essential to cleanse your face thoroughly to remove any remnants of makeup and residue. Use a gentle facial cleanser to wash away the oil-based remover and any remaining glitter particles. Follow up with your regular skincare routine, including toning and moisturizing. Glitter makeup removal can be slightly drying, so opting for a nourishing moisturizer will help replenish your skin’s hydration levels and leave it feeling refreshed.